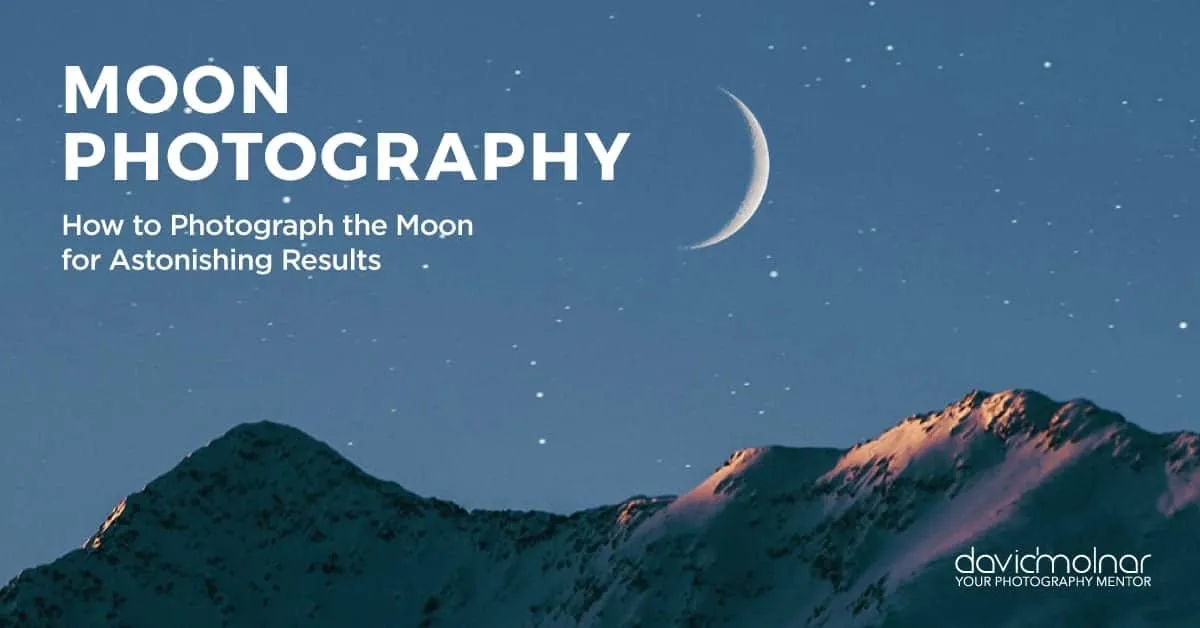
You’ve seen countless stunning images of the moon and night sky, but do you ever wonder what it takes to capture these photographs?
Photographing the moon can be intimidating at first but once you get it down, you’re in for an incredibly rewarding experience every photographer should strive for.
Determining When to Shoot
ISO 100 Aperture ƒ/4.5 Shutter Speed 1/160s
One of the first steps to getting a perfect moon photo is planning when to venture out for your photos and knowing what scenarios will produce the desired results.
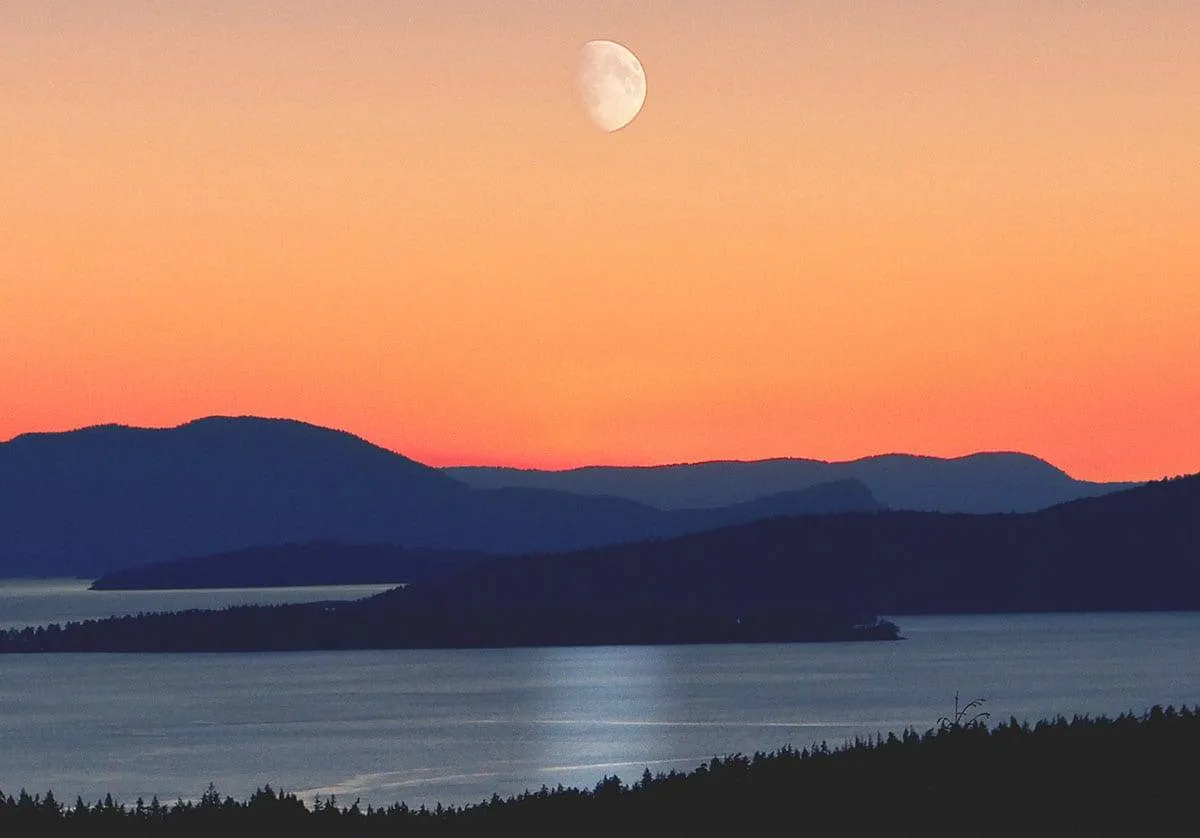
Time of Day
The best time of day to photograph the moon is either right after sunset or just before sunrise, which is displayed in the photo above. Doing so allows you to capture the moon when its closest to the horizon, which is when it’s least contrasted against the sky.
This makes your job easier and gives you foreground imagery to work with, since the foreground will likely still be illuminated.
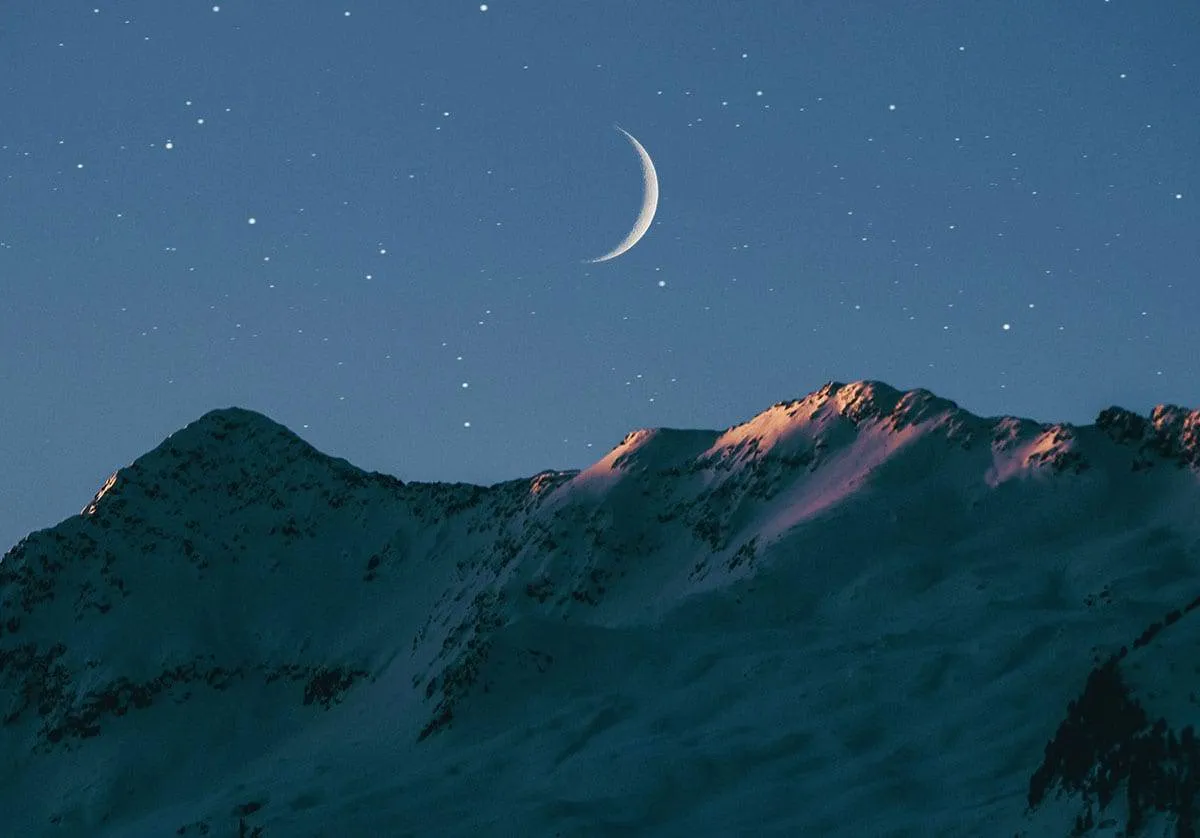
If you have a long telephoto lens, photographing the moon in the dead of night can land some beautiful detailed shots.
Crop in on the moon as tight as possible and use a lens that is at least 300mm when shooting the moon against an almost black sky.
Weather Conditions
The quality of your photos will greatly depend on the weather. If you’re looking for a photo with a crisp moon as the focus, make sure to shoot on a clear night when there are very little or no clouds. Higher elevations with no air pollution work best!
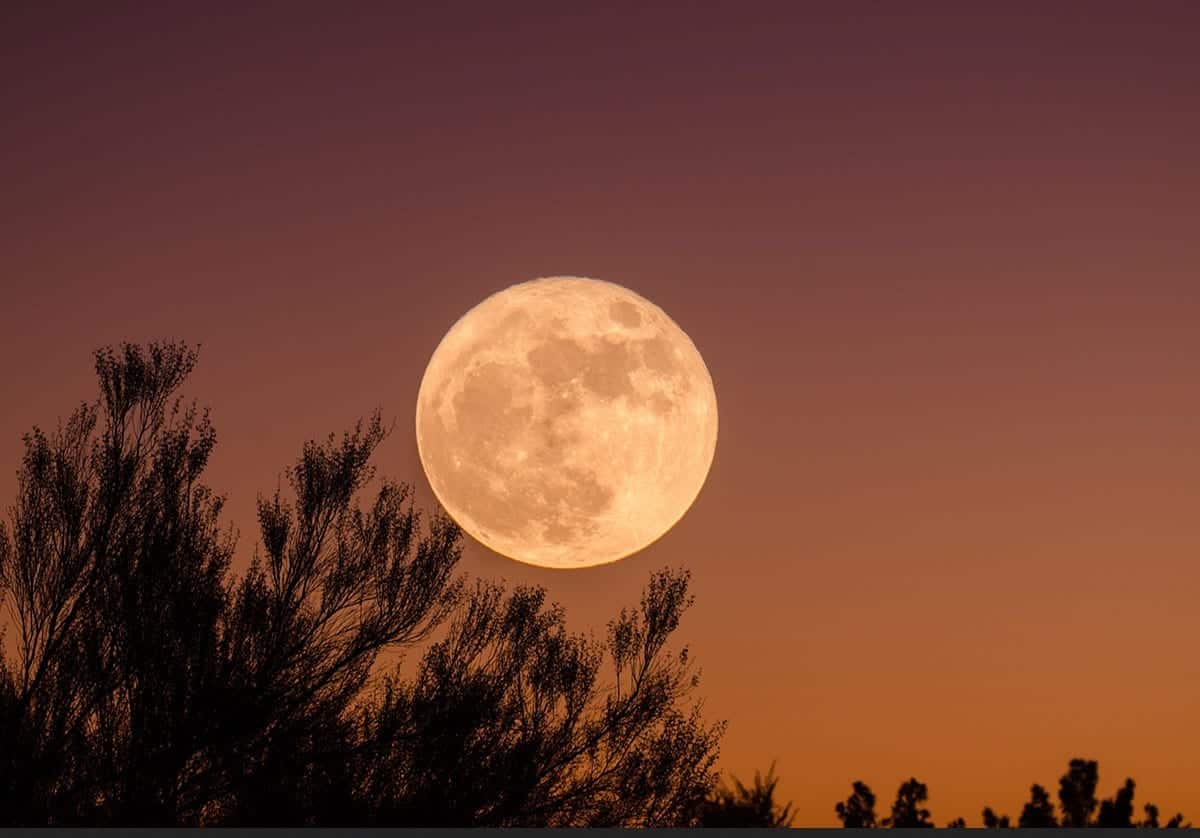
Moon Phases
Actual full moon photos can end up feeling flat and dull, since the light is hitting it face on. If you want to photograph a “full moon” your best bet is to shoot the day before or after the actual true moon. Another great option is to shoot a Gibbous or Quarter moon, which will reveal the craters and shadows of the moon’s surface. You can find out what phase the moon will be in at any given time and place at this link.
Equipment Needed to Capture the Moon
The next step is making sure you have your equipment ready and on hand. Moon photography can be quite expensive, but can also be done with less expensive equipment if you’re willing to compromise on the type of shot.
At a bare minimum you’ll need:
- Tripod
- Remote trigger or cable release
- 55-200mm lens. 800mm+ preferred
Even the slightest movement will cause blur when shooting the moon due to how extremely far away your subject is, so a tripod and remote trigger are a must.
ISO 320 Aperture ƒ/20.0 Shutter Speed 1/50s
Your lens will of course make the biggest difference when taking a photograph of the moon. The longer the lens the better and using a telephoto lens is preferred. Using at least an 800mm lens will give you the highest quality images. If this isn’t in your budget, consider renting a lens for a one-time shoot!
Photographing the Moon on a Budget
Without using at least a 200-300mm lens, the moon will come out very small. This being said if you’re shooting the moon with a 55-200mm lens, afterward you can use editing software after shooting to create some stunning images.
ISO 100 Aperture ƒ/5.0 Shutter Speed 1/320s
If you’re working with less sophisticated equipment and still want to photograph the moon, instead of focusing on the moon itself, put the focus on the foreground and have the moon positioned nicely in the background of the photo.
Camera Settings to Use When Photographing the Moon
Although specific camera settings will differ widely based on the specific conditions you’re shooting in, there are some rules that should always be followed when photographing the moon.
Image Stabilization and Mirror Lock-Up
One of these is that the image stabilization feature is off to prevent blur, which should be done every time you use a tripod. This may seem paradoxical, but turning on vibration reduction when using a tripod will actually result in blurred images. If you’re camera allows for it, you also want to use mirror lock-up mode (MLU) to minimize shakiness.
Shooting in RAW
Using a format when shooting the moon is a good idea, which gives you significantly more power when editing the photos in post production. After all the work you put in to photographing the moon, you’ll definitely want this option! To learn more about the advantages of shooting in RAW read our RAW vs. JPEG blog post.
ISO, Aperture, and Shutter Speed
You’ll have to play around with the ISO, aperture, and shutter speed, so make sure to switch to manual mode. Don’t rely on the light meter when deciding on your settings, since the camera will be confused by the moon’s light.
Considering the extreme brightness of the moon, most of the time you should be able to use your camera’s native ISO setting with good results. Some exceptions would be when photographing the moon in a landscape setting with lots of foreground imagery or when capturing an extreme crescent moon.
Although it doesn’t seem like it, the moon is moving in the sky at a fast pace and you’ll need a fast shutter speed to keep the image sharp. Using a minimum shutter speed of 1/125 to photograph the moon is a good benchmark. If you’re using a longer lens you can use slower shutter speeds but keep it at least 1/2 a second to prevent blur.
A good place to start overall is with your camera on the lowest possible ISO speed, an aperture of f/11 and a shutter speed of 1/250, and adjust as needed.
Importance of Composition with Moon Photography
Composition is very important when photographing the moon. If you’re capturing only the moon with no foreground imagery, place the moon in the center or use the rule of thirds to determine where it should be off-center.

ISO 160 Aperture ƒ/4.4 Shutter Speed 1/800s

ISO 320 Aperture ƒ/6.3 Shutter Speed 1/200s
When using foreground subject matter in your moon shots, some ideas are to photograph the moon as it comes over the mountains or ocean, or to frame it between objects.
Now that you have the tips you need to capture the moon’s beauty, get creative with it! You could try a day time shot, or try photographing a celestial event such as a blood moon, supermoon, or an eclipse. The opportunities are endless.
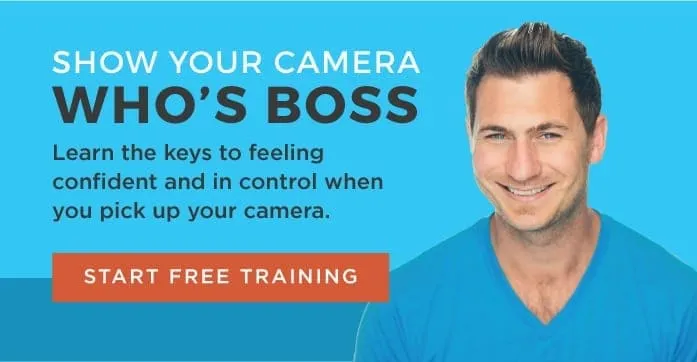
Need help understanding all the different dials on your camera? Join me for my free training called “Show Your Camera Who’s Boss” and I’ll show you how to use those dials!